


Over the past year we’ve been filming most of our games and scrims; it’s also a requirement for British Championships. Footage from some teams has been disappointing because it’s been filmed from a static camera where you can barely see what’s going on. Game reviews are a whole lot easier when the footage is clear and concise. We thought we’d share how we do it without any snazzy paid for software.
You don’t need to have people with experience to film; it’s just pressing a button and pointing the camera; the kit does the hard work for you! We usually have 2 members manning the camera so they can swap each jam to allow silent cheering and arm waving.
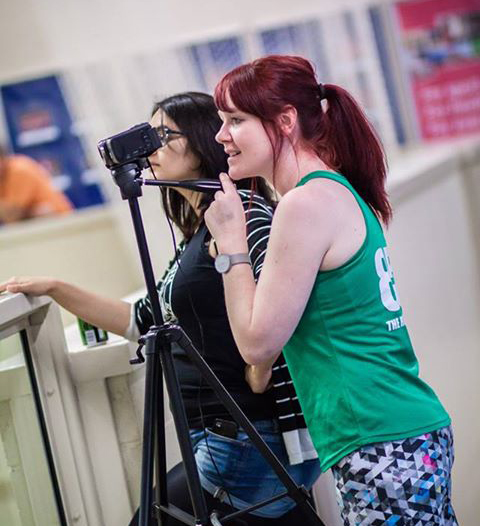
Photo by Matthew Anderson
STEP 1: Equipment
You’ll need the following;
- Tripod – £14 from Amazon
Link HERE - Extension cable – £8 from Amazon
Link HERE - Camera – Various prices
We managed to get the Panasonic HC-V550 for £180 (reduced from £280) it was the last one in Currys before the newer model came out, so keep an eye out for sales and deals. Make sure it’s HD and has 30x Optical zoom or more as you’ll be filming from far away at most games. It needs to be charged using the mains and to be able to be charging when recording (stops messing with batteries running out mid game). Here’s the newer model for £280 (PANASONIC HC-W570EB-K Full HD Camcorder):
Link HERE
Here’s a cheaper option for £150 (SONY Handycam HDR-CX405 Full HD Camcorder):
Link HERE - SD card – Best to get a 32GB memory card. This will give you plenty of space for filming two full games and some extras at full resolution. Look for class 10 or above and preferably 30mb/s for the transfer speed. We got a 64GB one for £22.50:
Link HERE - Camera bag – £7.50 from Currys – Keep your kit safe!
Link HERE
STEP 2: Filming
- Set up the tripod with the camera; preferably from a high vantage point, if not then turn 2 on track will be ok (just harder to see everything because of the officials in the middle.)
- It’s best to have someone manning the camera and zoom in, making sure they FOLLOW THE PACK. Top Tip: Zoom out to where you can see the players if they start bridging off the front or back of the pack.
- Press record when the jam timer shouts ‘5 seconds’ then stop filming a few seconds after the whistle to end the jam (this gives the refs chance to see the points given when watching it back too.)
- Record each jam separately. It’s easier to play back and edit.
- At the start of each jam, speak into the camera to say the score. This means you don’t have to do any fancy editing and still allows for an easy game review.

STEP 3 – Editing
Preparation;
- Copy the files from the memory card to your computer
- Separate them into 2 folders; first half and second half
- Delete any random clips eg. ones where you stopped filming as it turned into an official review etc. Top Tip: You can easily see these if you ‘show details’ in the folder and look for the ones that are really tiny file sizes (just view them to double check first before deleting.)
- Download Freemake Video Converter. It’s free software to join and export the footage files. Link HERE.
- Once you’ve installed it open it up
- Click the video icon in the top left and select all your files from the first half (mine tends to crash if I do both halves in one) to bring them into the software.
- Make sure you click the ‘join files’ button in the top right. This means it will join all the individual jams into one file.
- Select the file type you want to export by clicking on the icon along the bottom. I usually select Mp4.
- Then select ‘same as source’ from the drop down menu (or HD720p if you want it to upload slightly faster to Youtube.) Click ‘convert’.
Then do the same for the second half.
STEP 4 – Upload to YouTube
Log into your YouTube channel and upload the files. It’s likely to take a few hours so you’ll probably want to leave it uploading overnight. Top Tip: Turn off sleep mode on your computer so it uploads throughout the night.
Select the right level of privacy, we use ‘unlisted’ so that we can send the links out to the teams, referees etc but so that it can’t be seen by people who don’t have the link.
If you have any questions email info@nottsrollerderby.co.uk and we’ll see if we can do anything to help.
Happy filming!
The Ruth Hurts