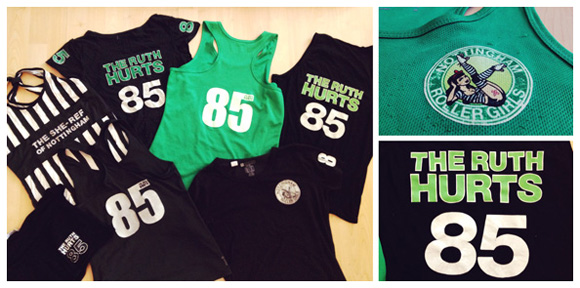
It seems I have become a little obsessed with putting my skate name and number on stuff. It’s easy, cheap and satisfies my crafty urges. Here’s how I do it…

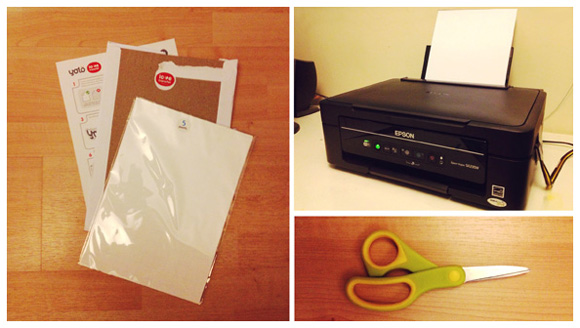
What you will need:
- Printer.
- Scissors (sharp and preferably pointy at the end to cut out the centres of characters).
- Transfer paper. Here is a link to the stuff I use: http://www.yolo.co.uk/yolo-inkjet-opaque-heat-transfer-paper-614-p.asp
It costs £5.37 including delivery for 3 sheets of A4 as a taster, or £13.35 for 10 sheets. I’ve tried a few different transfer papers and this is the one I like at the mo. I always use the ‘for dark t-shirts’ paper because I find it lasts washing a lot better. I’ve also used Wilko’s transfer paper (dark fabrics) in the past.

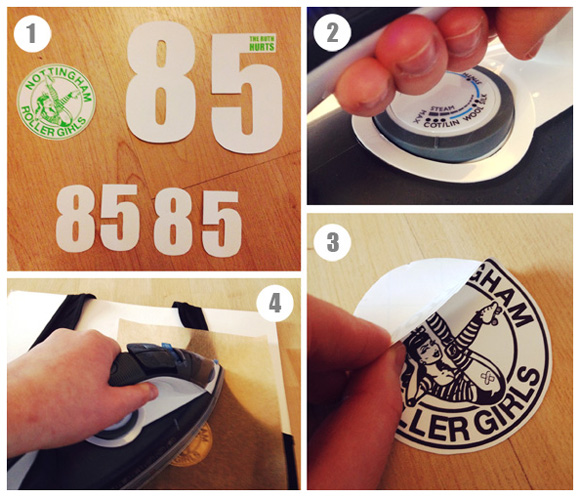
1. Print your design onto the transfer paper, making sure the numbers are 4” for the back and 2” for the sleeves (remember everything not printed will come out white). For the paper I linked to above you just print it normally, but for some papers you have to print it back to front.
2. Carefully cut out your design (even the middle bits). TIP: If you do a big logo or just iron on the whole sheet, it is a lot more likely to start peeling off after washing.
3. Heat up the iron. TIP: It says to put it on the highest temperature in the instructions, but I find that it burns the paper so I put it just a smidge cooler (still on the cotton setting).
4. Place your top over or on a hard surface ready to do the front logo first. TIP: I use a sheet of mount board card – an ironing board isn’t hard/smooth enough. If you haven’t got mount board you could probably use the card backed envelope the paper comes in (I haven’t used it, but it might be thick enough).
5. Peel off the backing of the logo and lay it out in the right position TIP: I like to put the top on before and hold the logo up to see where it looks best first.
6. Place the Teflon/greaseproof sheet over the design carefully (comes with the transfer paper).
7. Iron the design evenly for about 30 seconds to a minute (if it starts going brown then stop). TIP: Make sure you apply some pressure, but don’t try and force the iron through the floor.
8. Leave it to cool, before removing the Teflon/greaseproof sheet. Then do the same for the name/number on the back and the sleeves. TIP: Make sure you have card in between the fabric layers when doing the back so that you don’t melt the front logo again. et voilà.

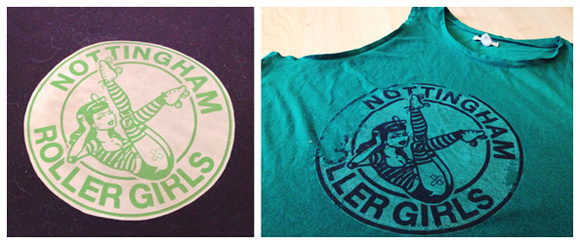
Even when it goes wrong it looks kind of cool. The one on the left burnt so it went a bit brown. The one on the right went wrong because the design was too big, it was also done using ‘light t-shirt transfer paper’, which I now know doesn’t work as well.
You don’t just have to make t-shirts; I’ve done my number on shorts too.
Enjoy!
